Steps on How To Get PSA Birth Certificate for Various Purposes
HOW TO GET PSA BIRTH CERTIFICATE – Here is a guide on setting an appointment online to request for your birth certificate from the Philippine Statistics Authority (PSA).
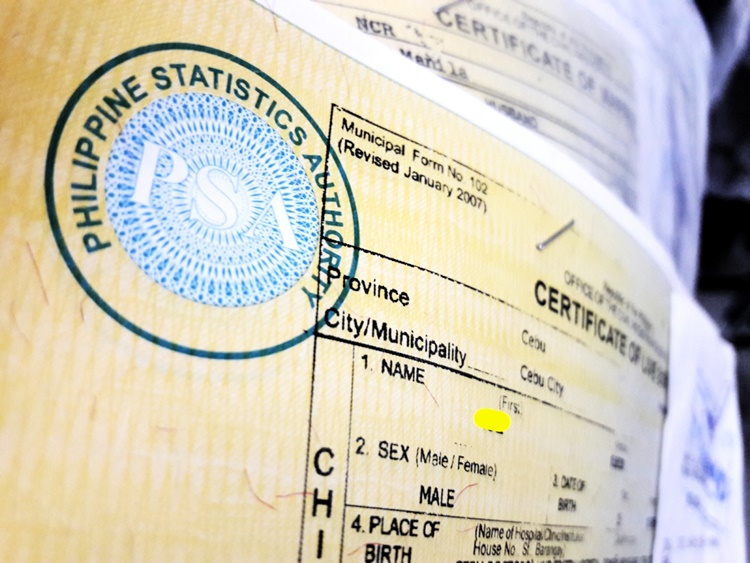
In the Philippines, the government body that holds the statistical data of the Filipinos is the Philippine Statistics Authority. It is more popularly called the PSA and it secures the registration of the citizenry.

The document that requested the most from the Philippine Statistics Authority is the Birth Certificate. Every day, there are countless Filipinos who are requesting for their Birth Certificate to be used in various purposes including passport application.
To make it easier for the Filipinos in requesting for a PSA copy of their birth certificate, the government body has launched an online platform where appointments can be done. You can check the guide below for the easy steps in setting an appointment to ensure a smooth process.
How to Get A PSA Birth Certificate:
Step 1 — Log in to https://appointment.psa.gov.ph/. Click the PSA CRS Appointment System image and read the Privacy Notice. Click on the “Agree” button if you agree to proceed.
Step 2 — Pick the PSA CRS outlet where you would like to claim your document.
Step 3 — Provide the information requested to complete the form. Make sure to use a valid and working email address and mobile number to ensure the receiving of the PSA appointment sheet. It is important to check on the PSA Birth Certificate requirements to be able to prepare the information needed prior to the appointment process.
Step 4 — Verify your appointment by providing the 6-digit verification code sent to you through the email address you provided.
Step 5 — Pick the the PSA certificates you will be requesting. Indicate your relationship to the document’s owner if you are making the request for another person.
Step 6 — Choose the date and time you want to go to the PSA CRS outlet and claim your document. You will be presented with the available time slots.
Step 7 — Review all the details you have provided and click “Confirm” if everything is correct.
Step 8 — The Civil Registration Service Appointment Slip with a QR code will be sent to your email. It will be your proof on the date of visiting your chosen PSA CRS outlet.
Step 9 — Go the PSA CRS outlet on your appointment schedule on time and with the requirements needed.